
Today, I’m going to share with you my ultimate DIY brush cleaner and give you a refresher lesson on proper brush cleaning and care!
If it isn’t already, washing your makeup brushes should be a permanent part of your beauty routine. Cleaning is so important for the quality and life of both your brushes and your skin. Think about it – there is so much makeup, oil, bacteria, and dirt trapped in an unclean brush, and unless you wash them, you’re rubbing it all back into your skin…um, gross.
Bottom line: you should be washing your brushes frequently. Fancy brush shampoos can be too expensive for how much you should be using them. This method, however, contains all super inexpensive ingredients and supplies, most of which you probably already have in your home. I learned this technique on Youtube and have been using it for years :)
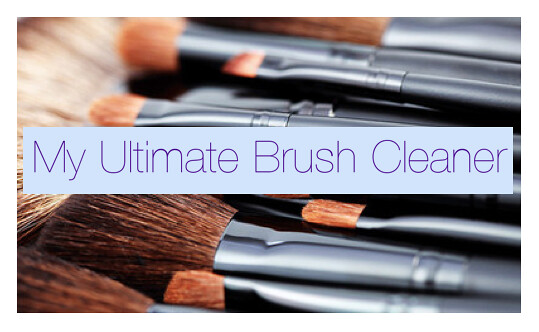
My Ultimate Brush Cleaner

You Need:
Basic dish soap (to disinfect and clean)
Dinner plate
A Towel
Rag
Sigma Dry N' Shape
Steps:
Pour the dish soap onto the plate – you don’t need too much
Add a little bit of water.
And that’s it for the shampoo! Now it's time to begin cleaning.
Take your first brush and stir it up in the mixture in a circular motion (you should see some of the makeup start to come off in the mixture).
Then wipe the brush pack and forth on your rag to release the makeup from the brush. This removes all the pigments and kills the bacteria.
When you’re done, place the brush on a towel.
Repeat steps 3-5 with the remainder of your brushes.
Once you’ve cleaned all your brushes, you’ll need to rinse them off under warm water in the sink. Swirl the brush under the water into the palm of your hand to thoroughly clean it off. (NOTE: do not use hot water, the high temperature will damage your brushes)
Continue to do so until the water is clear when you squeeze the brush.
Once they are all rinsed clean, gently wipe them dry with a rag and blot out the excess water. (Regular paper towels work best because they will not leave lint on the brushes)
Storing and Drying Your Brushes

Important Note: Do NOT let your brushes dry standing up with the bristles facing upwards – this will ruin them!! Water will drip down the bristles into the brush and loosen the glue holding the hairs together. Eventually, the hairs will fall out and the handle will be ruined too.
Lay your brushes flat the following way:
Place the clean, damp brushes into the Dry’n Shape using the smallest band the brush will fit into. Make sure that all bristles are firmly compressed.
Next:
Wait 4 to 6 hours and your brushes will be completely dry and ready to use! In addition to being completely dry, the bristles will be reshaped to their original form. Your brushes will be perfect for your makeup application!
You now have a convenient option to wash and use your brushes as often as you’d like!
A Couple Notes on Brush Guards:
Brush guards are great because they keep your brushes covered and protected from dust and dirt. They also help retain a brush’s shape and will preserve it for longer. You can get them from The Brush Guard if you do not already own some.
To clean your brush guards, use hot water and soap – let them sit in a bowl with hot water and soap for about 5 minutes, remove and rinse off.
When To Clean:
Foundation brushes: daily or after each use – liquids will trap more bacteria than powder and need to be cleaned more frequently
Powder/Eyeshadow brushes: after each new color
Eyeliner brushes: daily with your foundation brushes – anything going in your eye needs to be clean to prevent infection.
Happy cleaning, everyone! Your skin and your brushes will thank you!

0 comments :
Post a Comment